

I know it's "just a switch" but it's awesome to see how this particular one works...lol
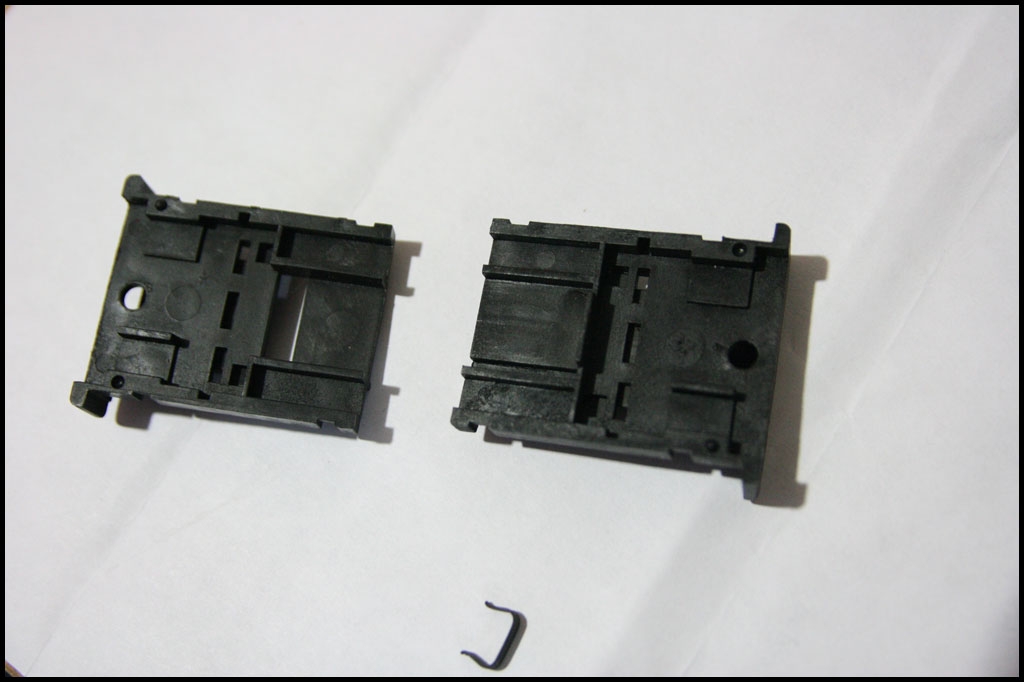
The base of the switch is made of 2 halves held together with clips and covered with a trim plate...
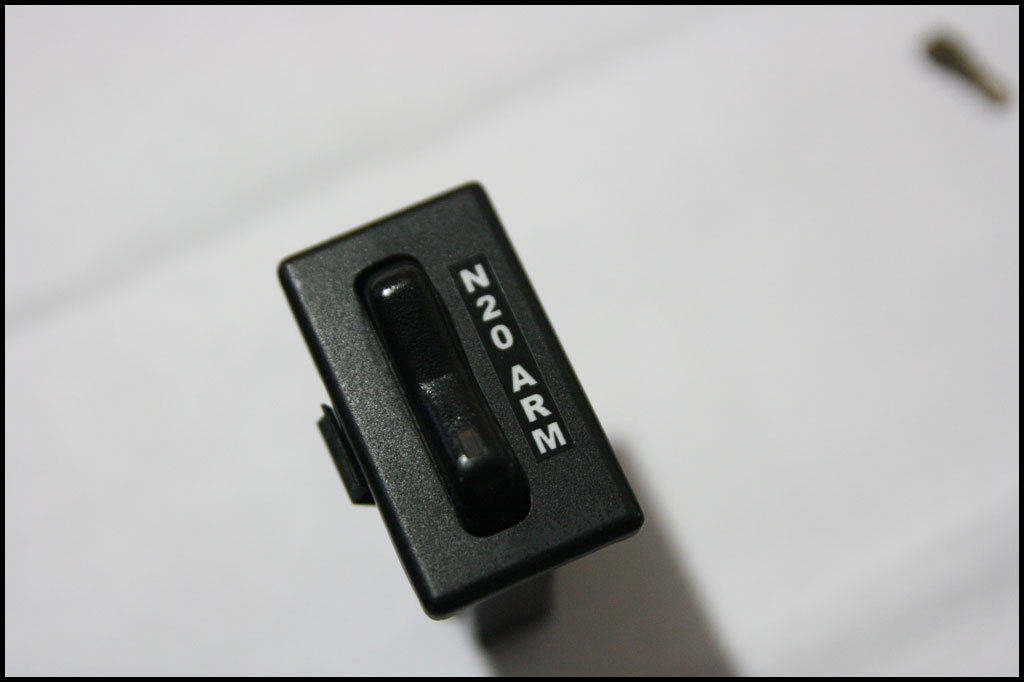
Here's my good switch - cleaned, re-labeled and ready to go:
You can see the trim plate folded over - top and bottom:
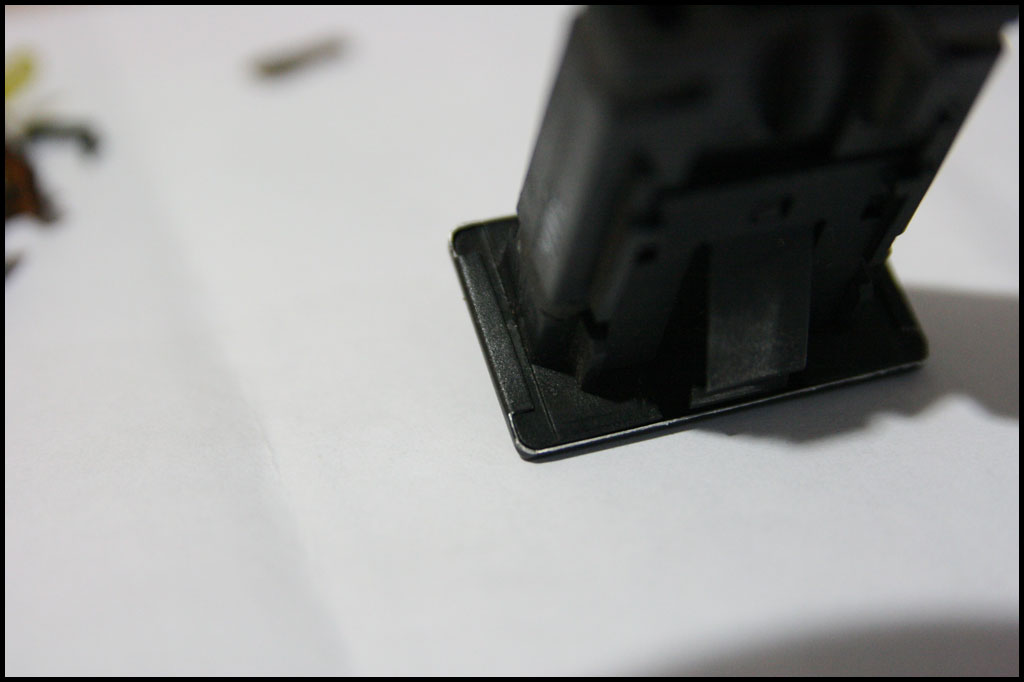
This shows the 2 bottom clips (there are 4 total - 2 top, 2 bottom):
The clips just pop off using a small screwdriver - hold on to them as they will fly off:
The 2 halves together with 1 clip in the frame:
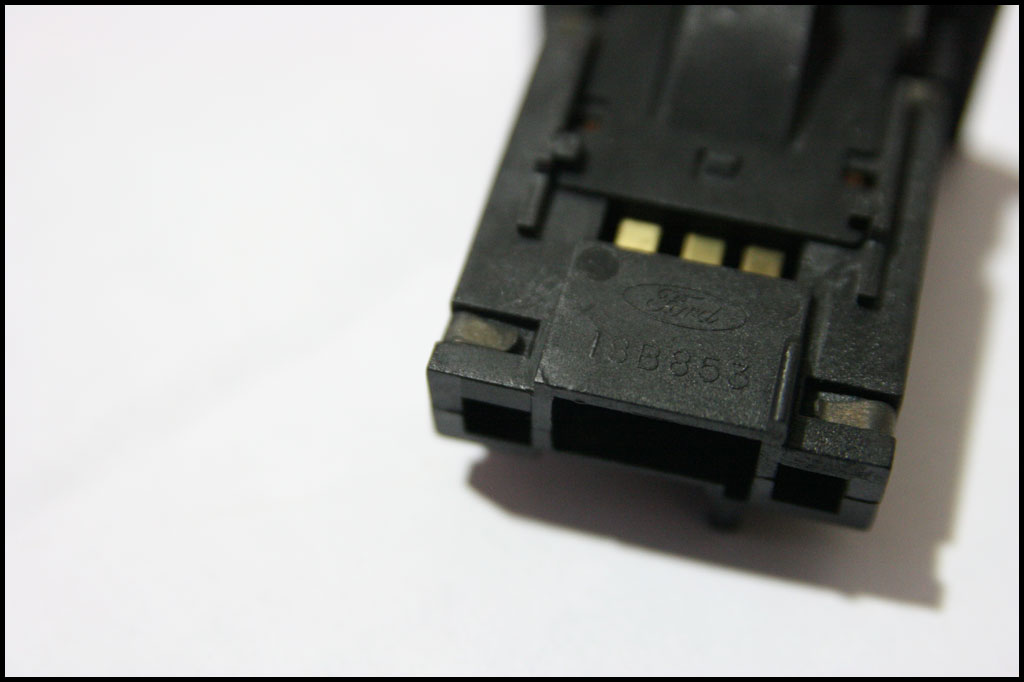
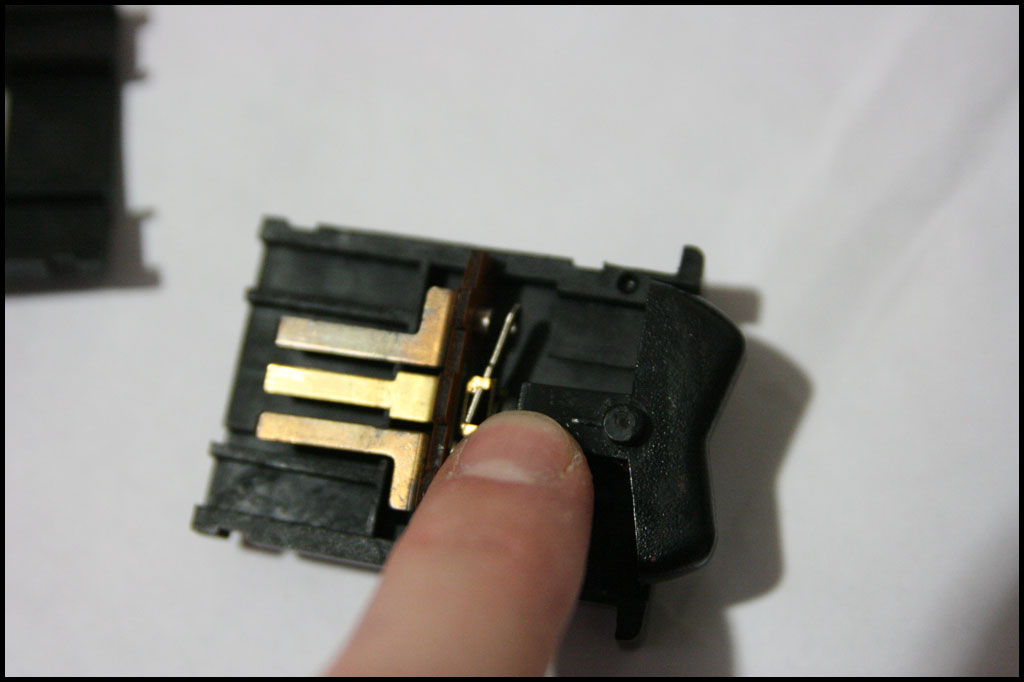
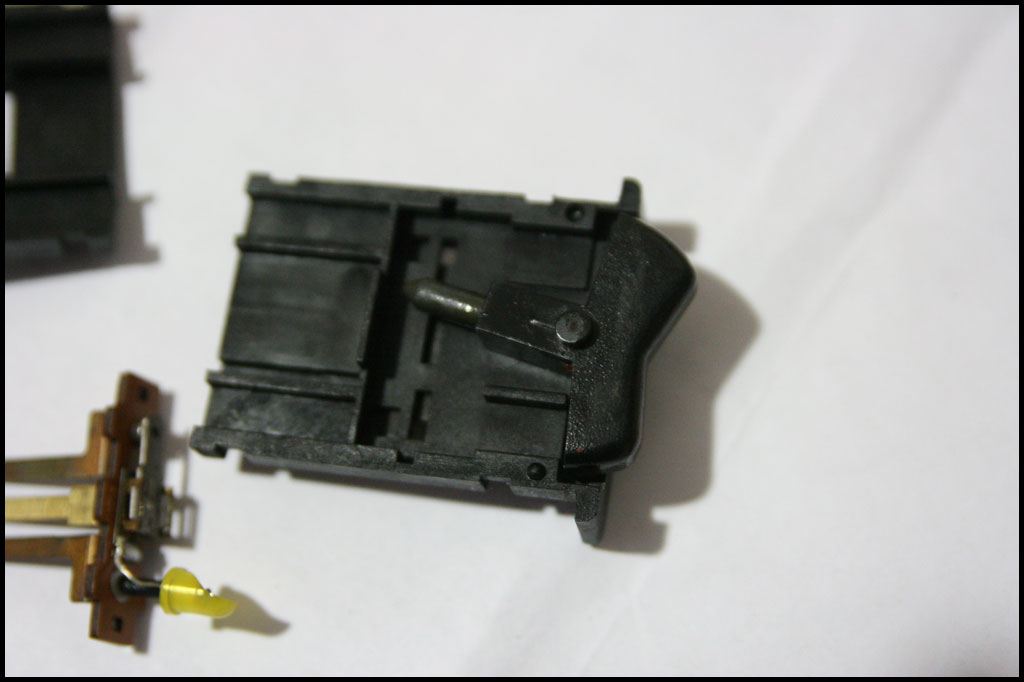
Here is the actual "switch" itself - pretty cool...This would be in the "ON" position...the bar just "see-saws" the switch on and off making contact with the nub on the right...see next 2 pics for better reference...This switch is super tight and clicks REALLY nice! lol (Left to right - Ground, power out, power in)
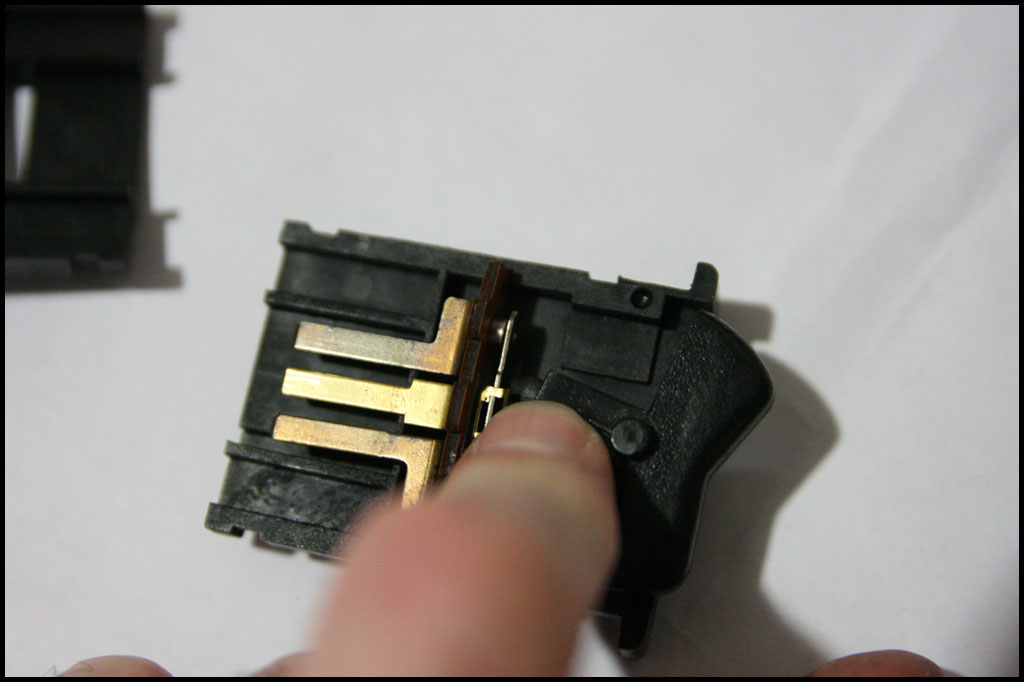
Here is the switch in the body...in the "OFF" position:
"ON":
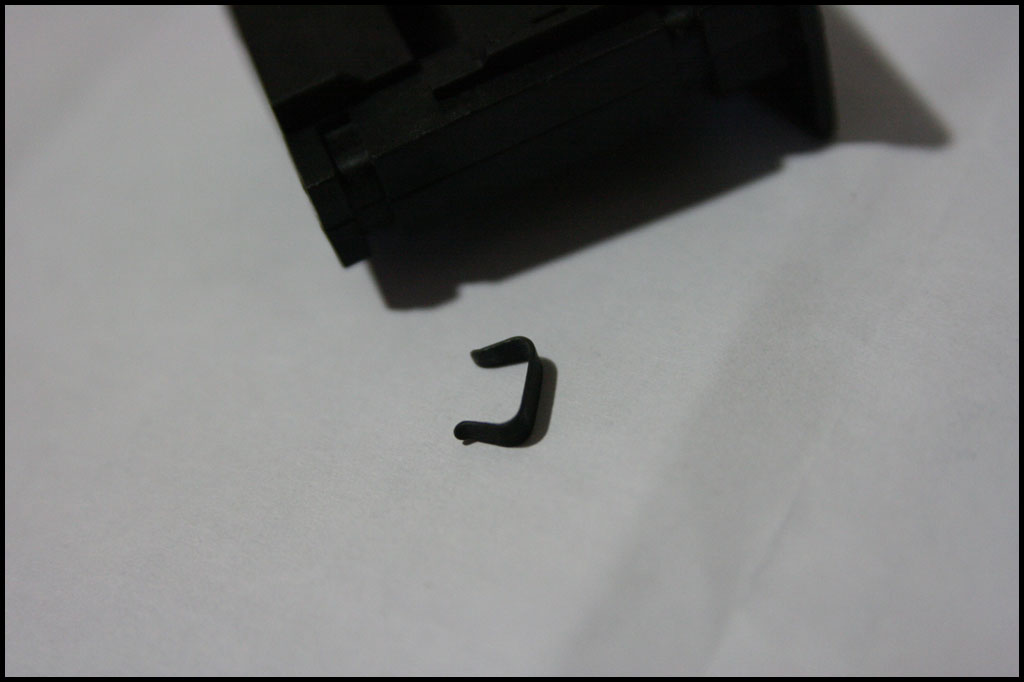
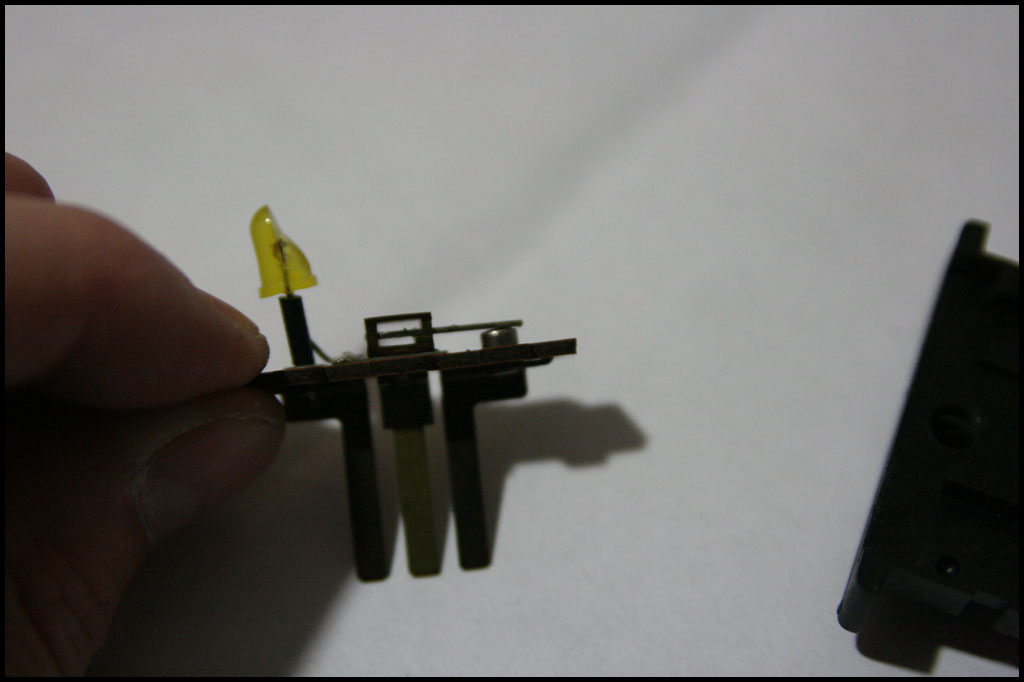
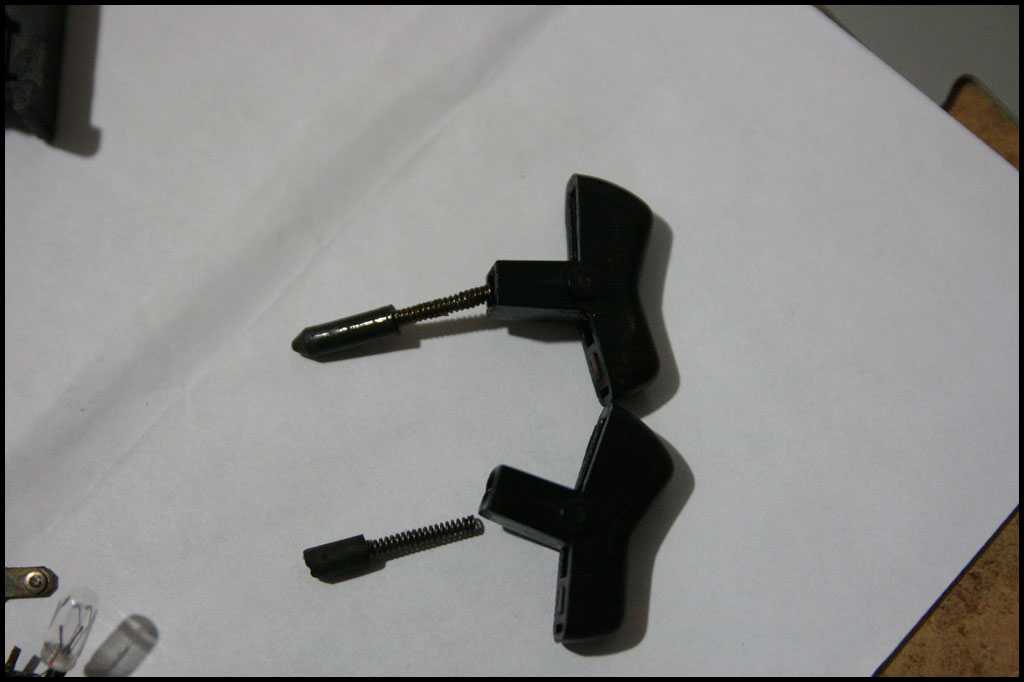
Here is the actual "rocker" part of the switch...it's got a spring loaded rod in the middle that helps give a nice "CLICK" on and off:
The switch that did nothing actually works...but the rod is broken not allowing it to function properly...it's loose and sloppy:
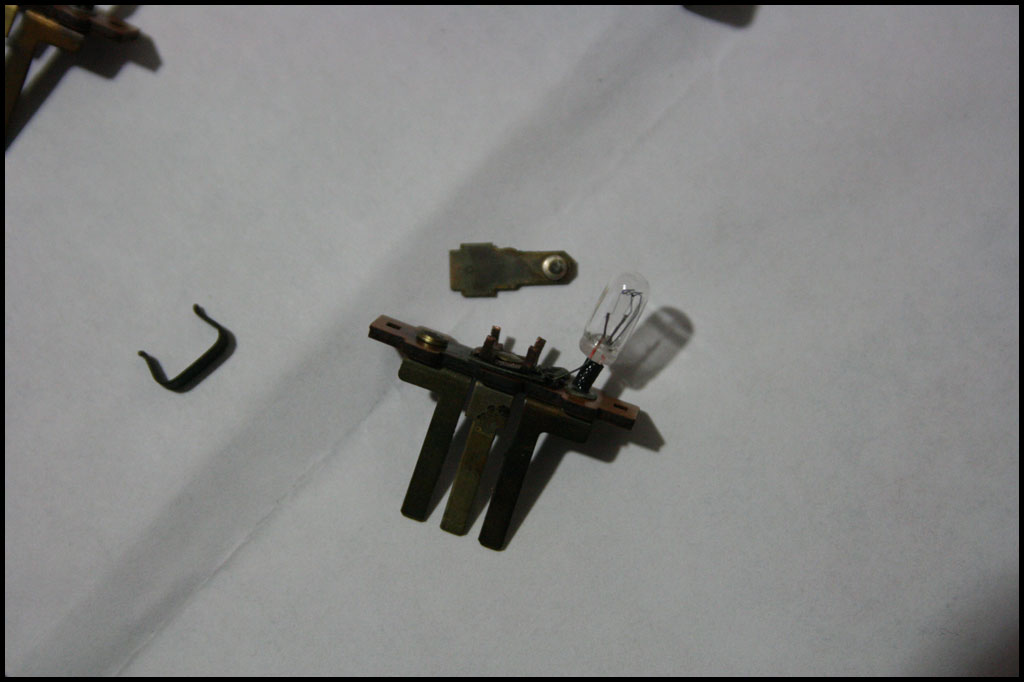
Here's a busted light:
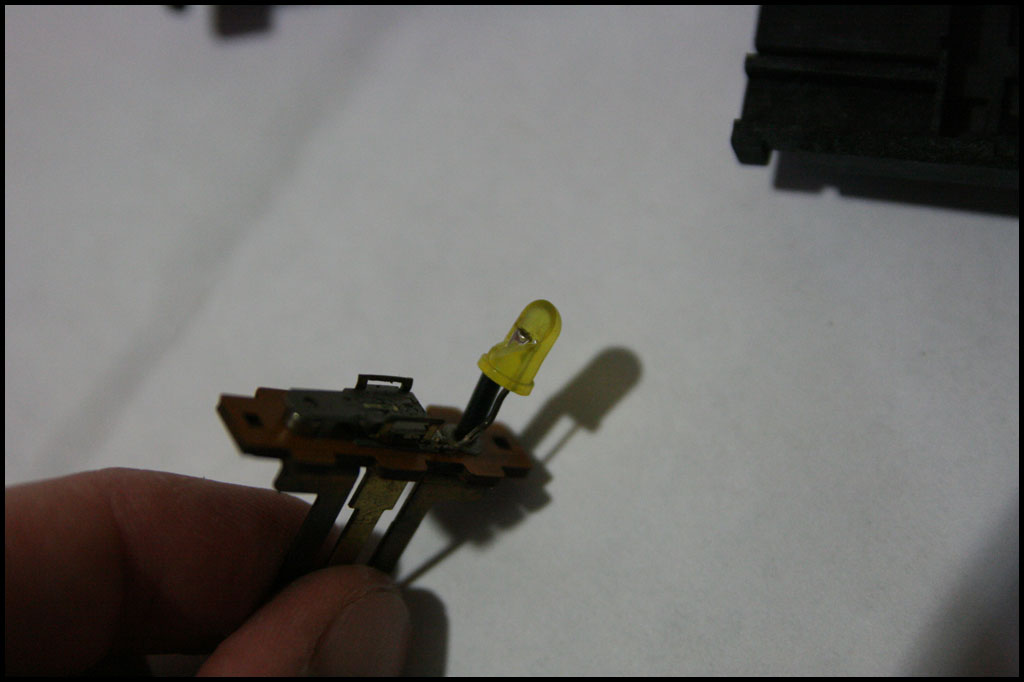
And the sloppy switch mechanicals - I was able bend the tabs to keep the "see-saw" in place - along with a good rocker this switch works good now:
I'm hoping to be able to just soldier on new lights for the one's that don't work and I'll try to figure out a new rod for the one rocker in hopes of having 4 good switches. Pretty interesting I though...hopefully it's helpful for someone else. Enjoy!
PART 2:
Small update...my new LED's came early! Whoo-Hoo. I originally got some from Radio Shack but realized after I got them home they were only good for like 3.6V. There is no room for an external resistor so I had to find some with the resistor built in. A bit of a pain but I finally found some...

After some marking, cutting and gentle persuasion I got them in place and soldiered on...I have tested them as well and they work awesome (no pics yet)
Still have the other 2 to do...even though they work I figure since they are out why not replace 26 y/o bulbs!
 Hope to finish this whole project soon...
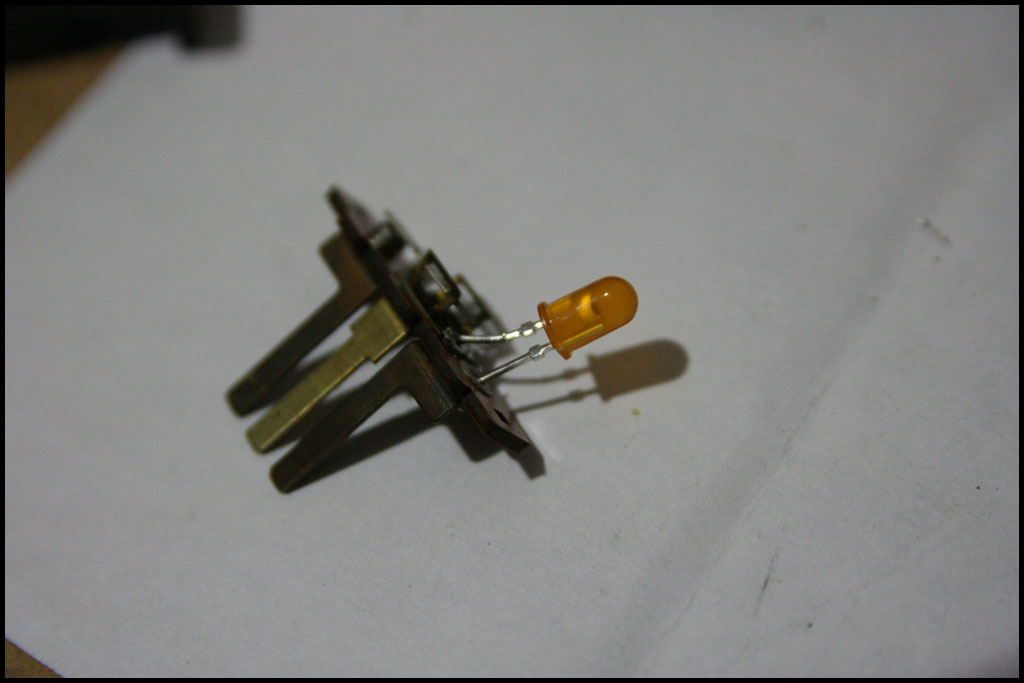
 FourEyedPride Sections
 New Classified Posts


